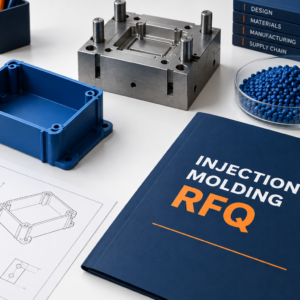



Self clinching nuts add captive threads to thin sheet metal when the selected fastener matches the panel and installation process. Before ordering, define sheet hardness, 厚さ, mounting-hole limits, ツールアクセス, finish sequence, and retention requirements. Thread size alone cannot establish whether the joint will work.
How Self Clinching Nuts Stay In The Panel
Self-clinching nuts lock into suitable sheet metal through controlled displacement of the panel material.
During pressing, metal around the mounting hole flows into the fastener’s retention recess. The fastener’s anti-rotation features resist turning. The installed nut then provides a captive threaded attachment point.
PennEngineering explains this mechanism in its self-clinching technology guide. The process depends on the correct sheet, 穴, ハードウェア, and tooling combination.
A nut that looks seated is not automatically acceptable. You still need a defined retention and thread-inspection plan.
Check Sheet Thickness And Hardness First
Select the fastener family and shank option against the actual panel specification, not only its alloy name.
Two panels described as stainless steel can have different hardness and forming histories. A catalog nut intended for softer sheet is not interchangeable with a version designed for harder stainless panels.
Check the full material designation, 状態, 厚さの許容差, and applicable hardness limit. Confirm that the selected shank suits the permitted sheet thickness range.
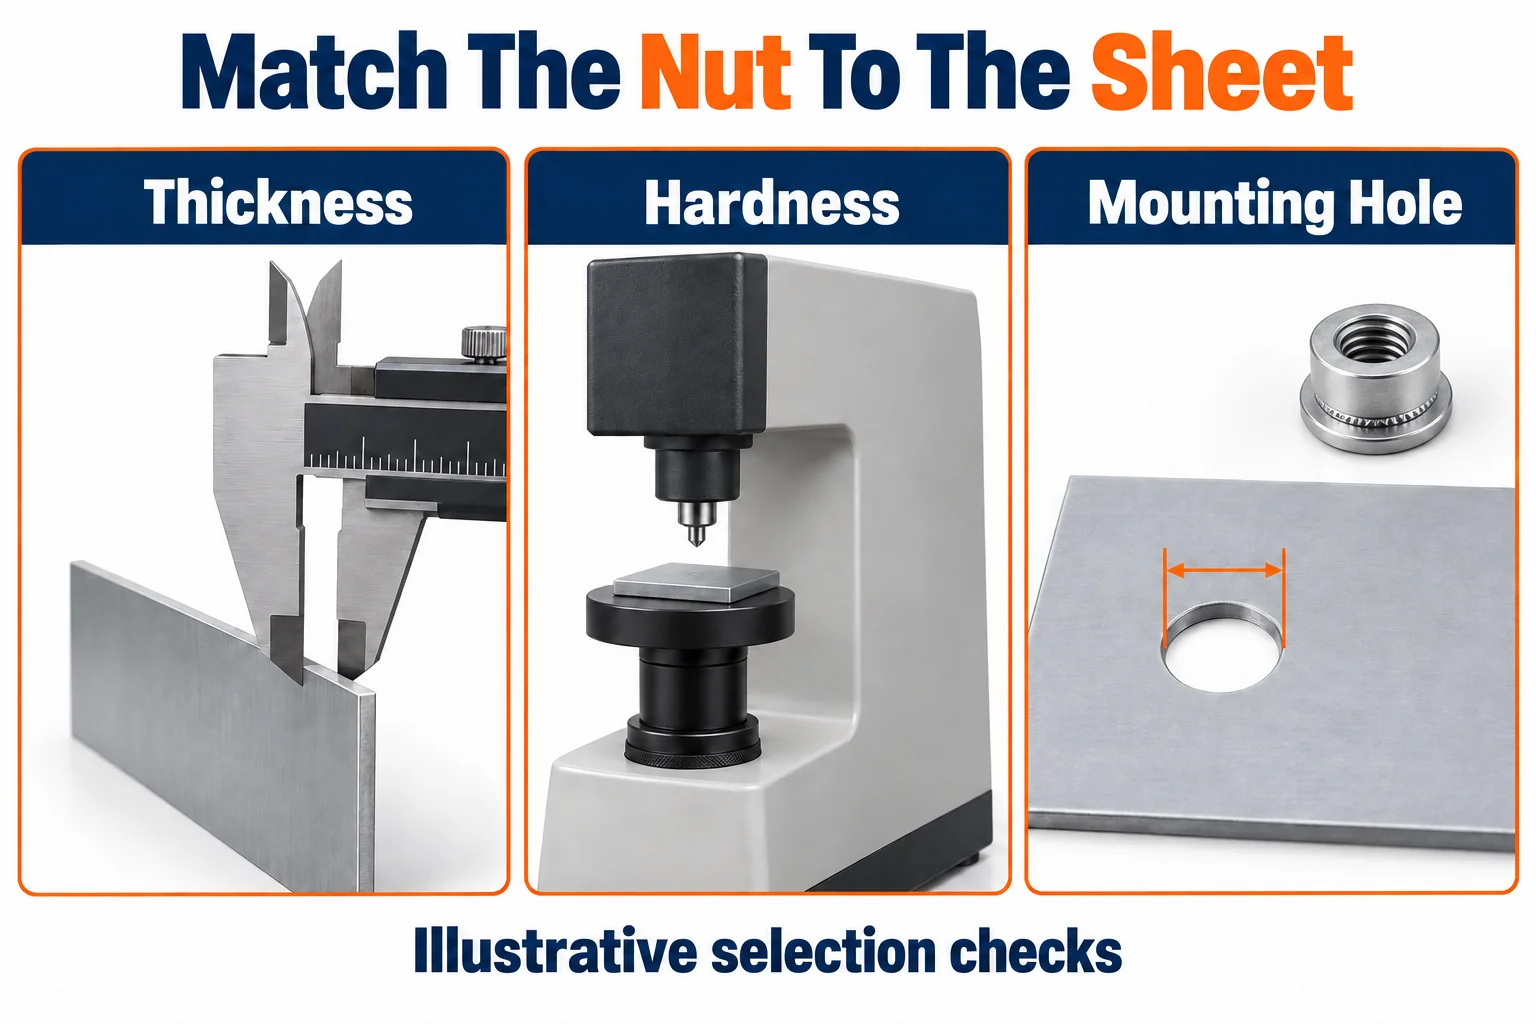
メーカーの individual nut specifications list sheet hardness, minimum thickness, hole size, and edge distance separately. Those limits belong to that particular product. Do not copy them across thread sizes or fastener families.
For purchasing, identify the complete manufacturer part number and finish. If alternatives are allowed, require engineering approval before substitution.
Specify The Mounting Hole And Edge Distance
Use the selected fastener’s hole specification and minimum centerline-to-edge distance on the manufacturing drawing.
A general drawing tolerance may not satisfy a hardware-specific mounting-hole requirement. State which requirement takes priority and identify the controlling datasheet revision.
| Drawing Item | What You Need To Define |
|---|---|
| Mounting hole | Nominal size, 許容範囲, and preparation requirements for the selected nut. |
| Sheet condition | 材料, 厚さの範囲, and hardness restrictions. |
| Installation side | A clear view showing the head side and intended assembly direction. |
| Edge distance | The minimum hole-center distance from a free edge for that product. |
| Nearby features | Bends, adjacent hardware, 切り抜き, and space needed by installation tools. |
Do not add a countersink or generic hole-edge deburring operation without checking the hardware instructions. Removing material around the hole can remove metal needed for retention.
PennEngineering’s installation instructions specifically warn against secondary deburring of the mounting hole. Keep unrelated sharp-edge cleanup separate from this controlled feature.
The same guidance calls for squeezing between parallel tooling surfaces and warns against hammer installation or excessive pressing. Confirm the setup with representative parts before releasing production.
Plan Tool Access And Operation Order
The installation sequence must preserve access for the punch and anvil without damaging the formed panel.
Review the finished enclosure and the intermediate flat blank. Hardware accessible before bending may become difficult to support afterward. Installed nuts can also interfere with later bending tools.
Ask your fabricator to show the proposed sequence and the installation tooling envelope. Approve changes to hardware position through the drawing process.
Most conventional self-clinching installations need access to both panel sides. For a closed section, review a suitable blind threaded insert instead. メーカーの fastener FAQ explains this access distinction.
Treat the finished joint layout as part of the design. Confirm screw approach, thread engagement, and mating-part clearance before ordering an enclosure batch.
Agree The Finish Sequence Before Production
The panel finish and fastener finish must be compatible with the approved installation route.
Do not assume that every coating can be applied before installation, or every mixed-metal assembly can be finished afterward. Check the specific manufacturer’s restrictions and your coating specification together.
例えば, PennEngineering warns against installing steel or stainless hardware in aluminum panels before anodizing or finishing. It also warns against installation on the pre-painted side. Apply the relevant product instructions rather than a universal install-first rule.
Specify thread masking where the finish process requires it. Define how the finished threads will be accepted, including any permitted post-treatment operation.
For dissimilar metals, assess the service environment and corrosion risk. A stainless nut does not make an aluminum interface automatically corrosion-proof.
Inspect Thread Fit And Retention Separately
Thread acceptance, hardware position, and retention performance answer different quality questions.
A screw entering the nut establishes neither correct installation strength nor the position of the threaded axis. Build the inspection plan around the failure modes that matter to your assembly.
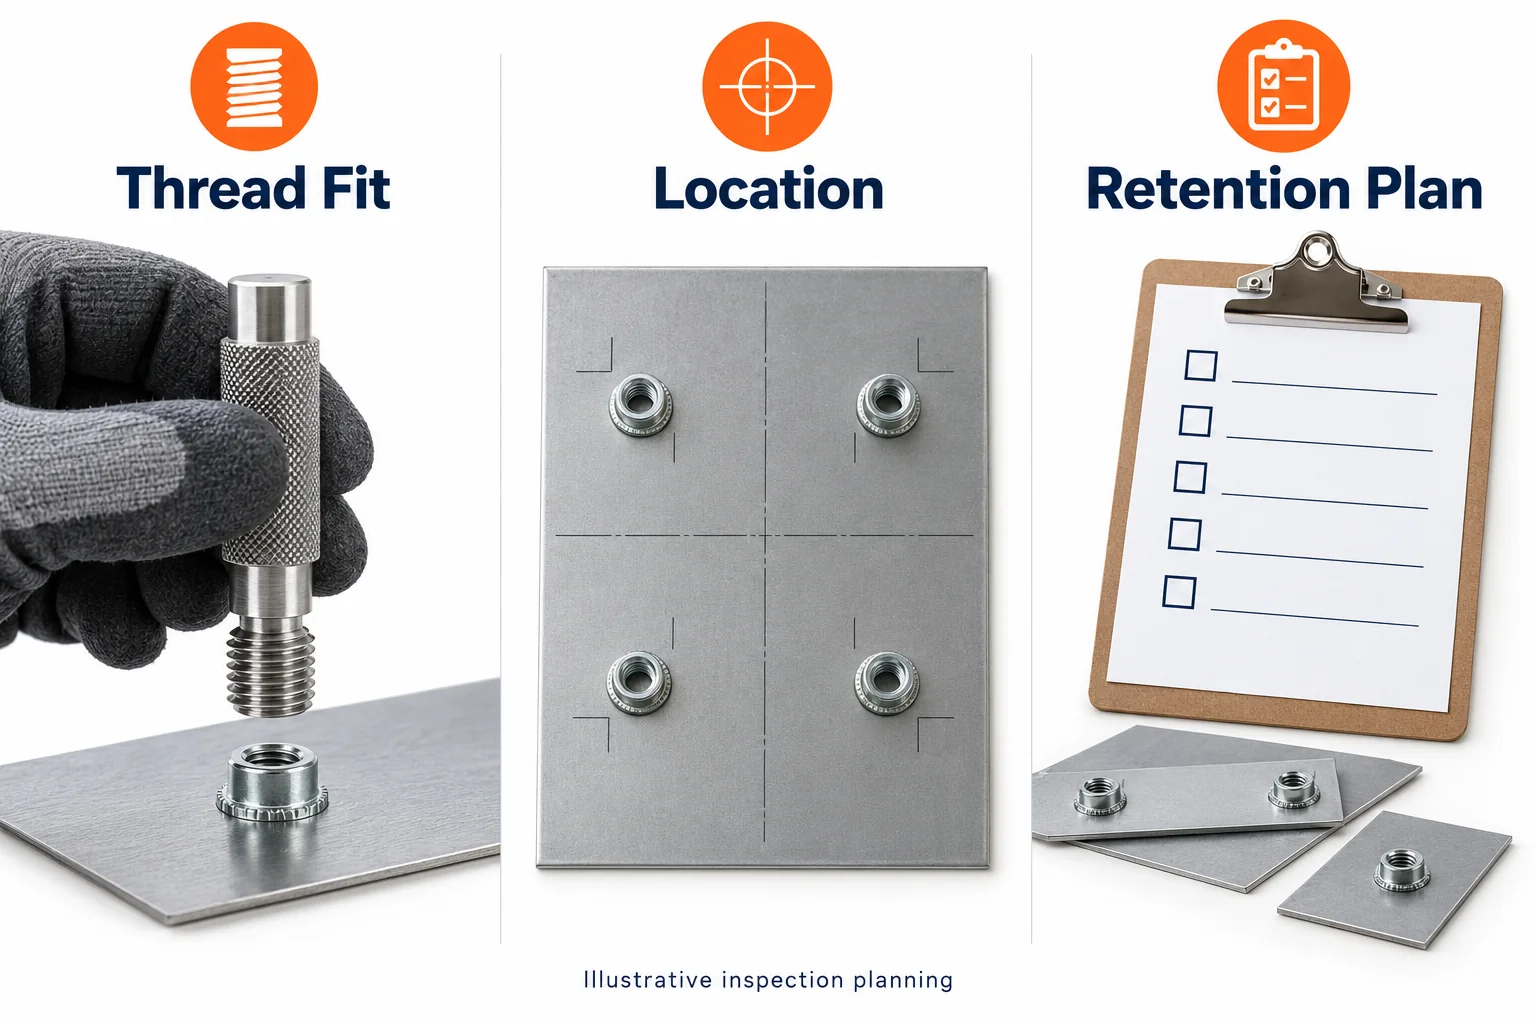
| 検査 | 目的 |
|---|---|
| Hardware identification | Confirm the specified nut, 糸, シャンク, and finish were supplied. |
| Seating and panel condition | Look for incomplete seating, tilt, ねじれ, ひび割れ, or finish damage against approved criteria. |
| Position and orientation | Verify the threaded location and installed side against the drawing. |
| Thread gauging | Check the specified thread condition after installation and applicable finishing. |
| Retention testing | Verify agreed resistance to axial displacement and rotation using a defined method. |
Pushout and torque-out values are not the same as recommended screw-tightening torque. Do not use one number for all three requirements.
の self-clinching nut technical bulletin separates these measures and describes its test conditions. It also qualifies installation forces as reference guidance and recommends application testing.
Agree sample quantities, fixture details, acceptance limits, and lot records. Destructive retention tests need a sampling and disposition plan. They should not silently become tests on every deliverable part.
When To Consider A Different Threading Method
Review an alternative when your panel, access, or loading requirements fall outside the selected nut’s approved conditions.
Blind rivet nuts deserve consideration when installation is possible from only one side. Weld nuts require a suitable welding and finishing route. Tapped features require enough suitable material for the intended thread engagement.
Each option changes tooling, 幾何学, 検査, and assembly clearance. Compare the complete joint rather than selecting the cheapest individual fastener.
私たちの overview of manufacturing fasteners introduces the broader categories. Keep the final choice tied to your drawing and representative assembly checks.
What To Include In Your RFQ
Give every supplier the same panel definition, hardware specification, and acceptance requirements.
TOPSのオファー sheet metal fabrication services. Send the hardware details with your enclosure or bracket drawing so the proposed manufacturing scope can be confirmed.
Include the 2D drawing, STEP model, sheet grade and condition, 厚さ, 仕上げる, 年間生産量, and delivery quantity. Add the complete nut part number, locations, installation side, approved alternatives, and required inspection records.
Ask the quotation to separate tooling or setup charges from recurring part costs. Confirm responsibility for hardware sourcing, installation, masking, そして最終検査.
Compare the cost of accepted assemblies. A lower panel price can exclude hardware, 検査, or a finish step included in another quotation.
よくある質問
These answers help you resolve common specification questions before approving a production order.
Are Self Clinching Nuts The Same As Rivet Nuts
いいえ. Their retention mechanisms and installation requirements differ. Do not substitute one based only on matching threads.
Can Any Stainless Nut Be Installed In Stainless Sheet
いいえ. Use a fastener family specifically rated for the actual sheet hardness and condition. The material name alone is insufficient.
Should Mounting Holes Be Deburred
Follow the selected product instructions. Standard self-clinching guidance warns against removing the hole-edge material needed for clinching.
Can A Hammer Replace An Installation Press
いいえ. Standard self-clinching nuts require controlled squeezing. An impact does not reproduce the specified installation process.
Does A Flush Appearance Prove Correct Retention
いいえ. 外観, thread fit, and retention are separate checks. Use the approved inspection and performance-test plan.
Is Torque Out The Screw Tightening Torque
いいえ. Torque-out evaluates resistance to fastener rotation in the sheet. Specify assembly tightening torque separately.
Request A Sheet Metal Assembly Review
Define the panel and captive hardware together before approving production. Contact TOPS with your drawing, nut specification, 仕上げる, 年間生産量, 検査要件. Request confirmation of the complete fabrication and installation scope.