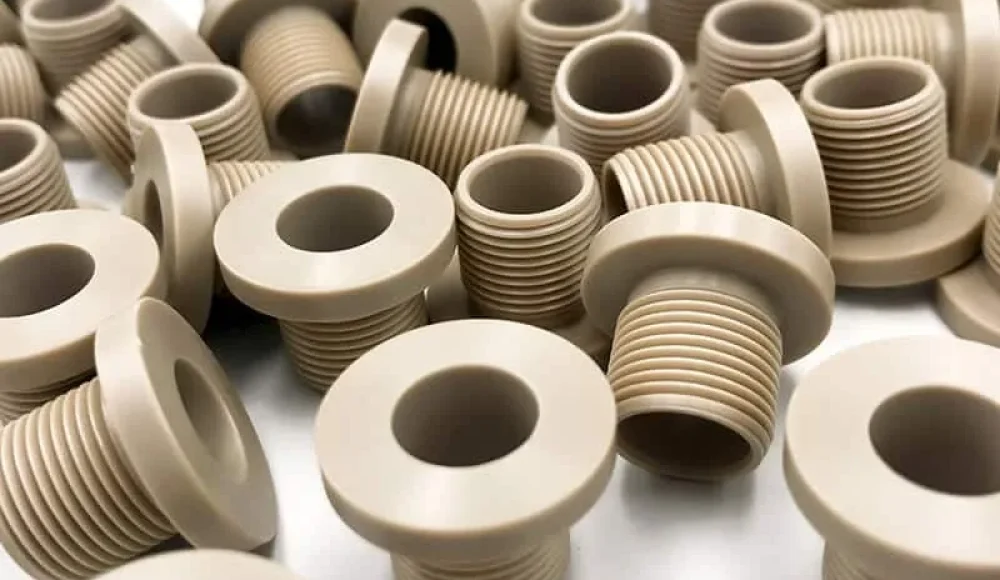
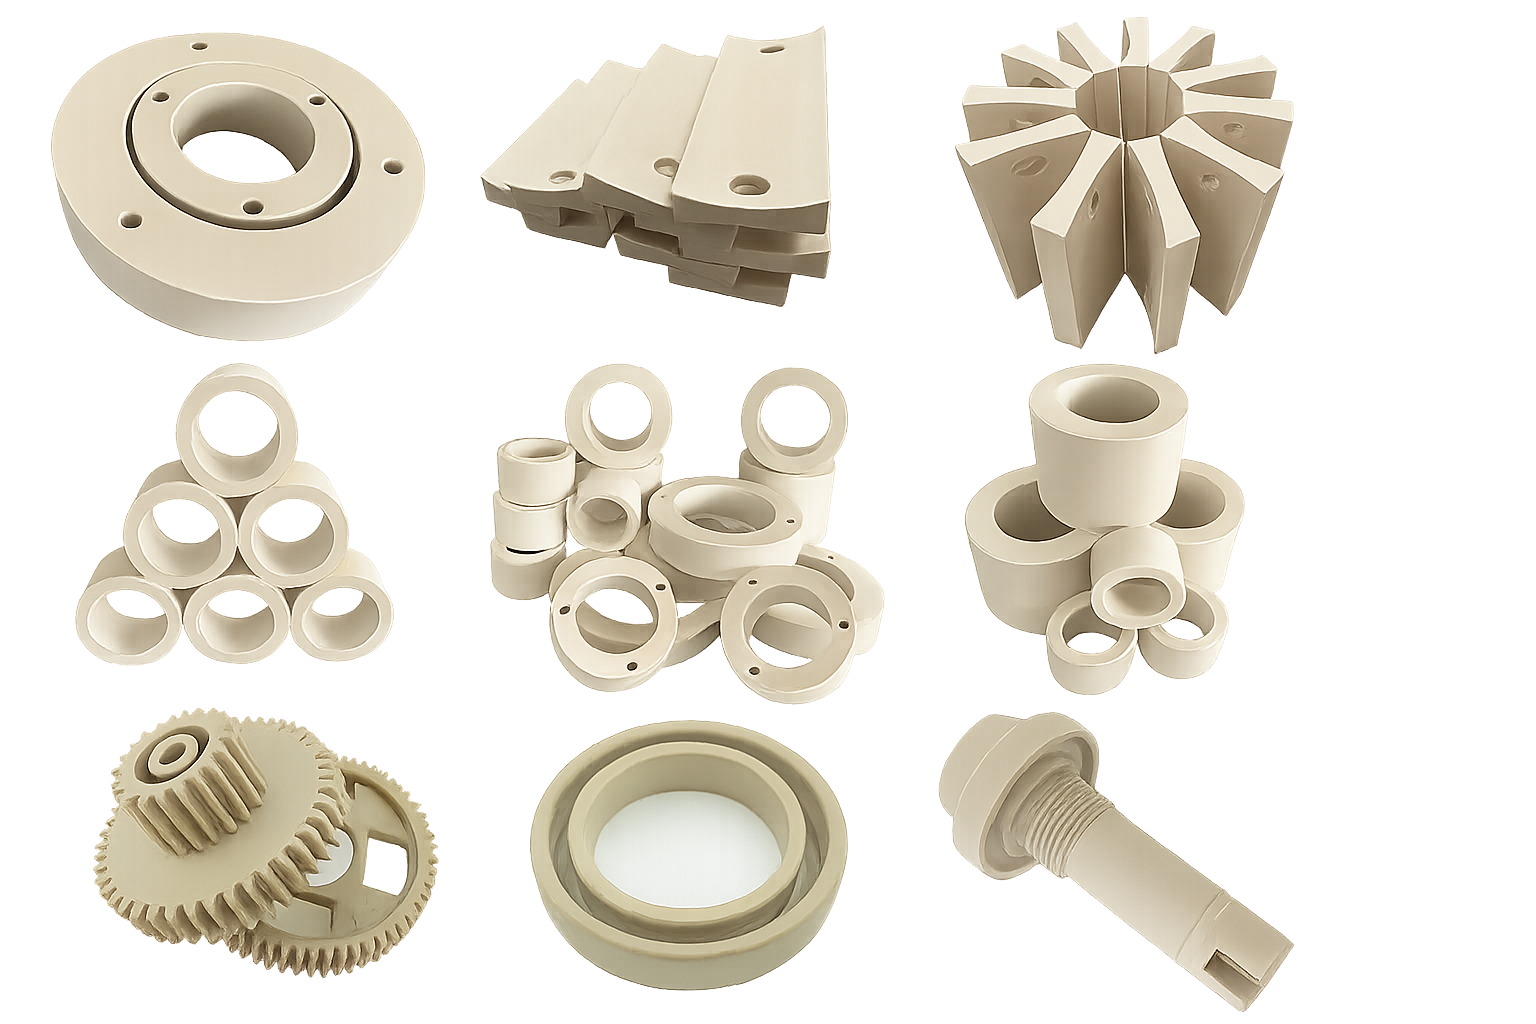
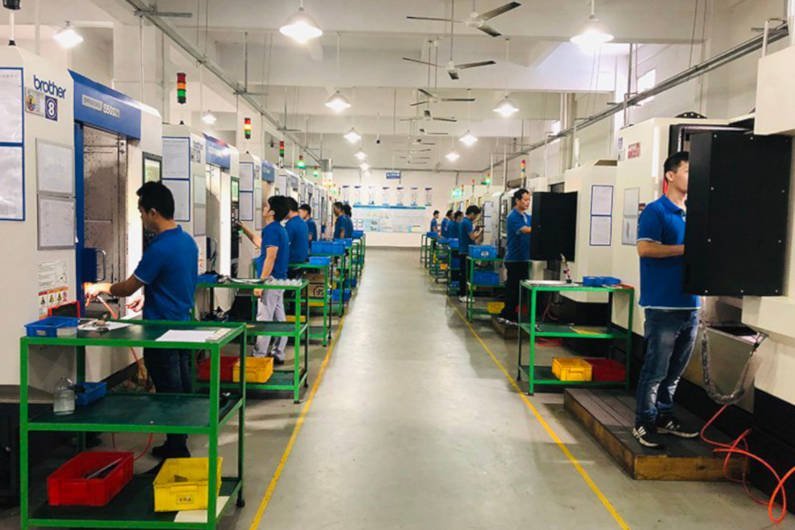
PEEK (Polyether ether ketone) is a standout high-performance thermoplastic prized for its chemical resistance, high-temperature stability, and mechanical strength. But these very attributes make it challenging to machine. Skip the proper steps, and you risk cracked parts, ruined tools, or wasted material—an expensive mistake when PEEK bar stock costs upwards of $100 per kilogram. This guide dives deep into nine critical tips to ensure your PEEK machining runs smoothly, delivers tight tolerances, and protects your bottom line.
Anneal Before Machining
Why it matters:
Raw PEEK often carries residual stresses from extrusion or molding. Under the heat and forces of cutting, these stresses can manifest as cracking or warping.
How to do it:
Preheat Oven: Ramp to 200–220 °C.
Soak: Maintain the PEEK bars or plates at that temperature for 1–2 hours (time scales with thickness: ~30 minutes per 10 mm of material).
Slow Cool: Turn off the oven and allow to cool down to room temperature over several hours—avoid removing parts while still hot.
Bonus: For long machining runs, perform an intermediate anneal (e.g., midway through a large batch) to keep stress buildup at bay.
Maintain Tool Condition
Why it matters:
PEEK is abrasive—especially filled grades—and will dull standard carbide cutters rapidly, leading to poor surface finish and increased cutting forces.
Recommendations:
Unfilled PEEK: Use silicon carbide (SiC) or fine-grain carbide end mills.
PEEK-GF30/CA30: Opt for polycrystalline diamond (PCD) or diamond-coated tools to resist abrasion.
Tool Rotation: Use highest spindle speed your machine and tool allow (up to 6,000 RPM) to minimize tool-workpiece contact time.
Tip: Routinely inspect your cutter edges under a stereo microscope—minor wear can double cutting forces and spoil finish quality.
Manage Heat with Proper Cooling
Why it matters:
PEEK’s low thermal conductivity traps heat at the cutting interface. Excessive heat softens the polymer, causes smearing, and can deform tolerances.
Cooling Strategies:
Industrial Grades: Flood with a water-soluble coolant or light oil-based coolant. Ensure high-pressure nozzles target the tool-workpiece zone.
Medical-Grade PEEK: Avoid oil or solvent coolants to maintain biocompatibility. Instead, use clean, compressed air (5–7 bar) or deionized water.
Air Blast Note: Keep the nozzle moving to avoid local chilling, which can induce brittleness.
Handle Gently to Minimize Stress
Why it matters:
High cutting forces and deep cuts generate mechanical stresses, leading to edge chipping or internal cracks.
Best Practices:
Light Depths of Cut: Start with 0.5–1 mm axial depth for roughing; finish at 0.1–0.3 mm.
Moderate Feed Rates: Use 0.05–0.15 mm/rev in milling, 0.1–0.3 mm/rev in drilling.
Avoid Dwell: Keep the tool moving—pauses can burnish the material and raise local temperatures.
Tip: Climb milling often reduces thrust forces and improves chip evacuation compared to conventional milling.
Optimize CNC Parameters
Why it matters:
PEEK responds best to specific speed and feed combinations; stray too far, and you’ll see smearing, poor finishes, or surface cracking.
| Operation | Cutting Speed (m/min) | Feed Rate |
| Milling | 50–200 (industrial) | 0.05–0.2 mm/rev |
| 200–300 (medical) | 0.05–0.2 mm/rev | |
| Turning | 250–500 | 0.1–0.5 mm/rev |
| Drilling | 50–200 (industrial) | 0.1–0.3 mm/rev |
| 80–100 (medical) | 0.1–0.3 mm/rev |
Pro Tip: Always run a test cut on scrap PEEK to dial in the sweet spot for your specific machine, tool, and material grade.
Special Drilling Techniques
Why it matters:
PEEK’s low elongation means deep holes can crack or “snag” the workpiece.
How to succeed:
Peck Drilling: Retract every 3–5 mm to break chips and clear debris.
Point Angle: Use 130–140° split point bits to reduce thrust.
Chip Evacuation: Continuously blow chips away with air or vacuum—accumulations can wedge the bit and cause cracks.
Tip: A bracelet-style backup under thin sections prevents blowout on the exit side.
Prevent Contamination
Why it matters:
Medical implants and food-contact parts demand absolute purity. Even trace oils or metal particles can compromise biocompatibility.
Clean Protocols:
Gloves & Clean Tools: Wear nitrile gloves and dedicate a set of tools to PEEK.
Work Area: Use HEPA-filtered air or laminar flow above the machining station.
Part Storage: Place finished components in sealed, labeled containers until inspection.
Tip: For ultra-clean blanks, rinse in an ultrasonic bath with deionized water and food-grade detergent after machining.
Advantages & Limitations of Machining PEEK
| Advantages | Limitations |
| Outstanding biocompatibility | Abrasive to cutting tools |
| High chemical & temperature resistance | Low elongation means brittle under load |
| Excellent wear resistance & low friction | Requires special tooling & fixtures |
| Tight tolerances (±0.05 mm) achievable | Sensitive to heat; needs cooling |
| Low moisture absorption | Higher material cost (vs. commodity plastics) |
| Excellent surface finish (Ra < 0.4 µm) | Slow feed speeds increase cycle time |
Conclusion & Next Steps
Machining PEEK demands respect for its thermal and mechanical quirks—but with the right annealing, tooling, cooling, and process parameters, you can achieve precision parts that excel under extremes. By following these nine tips, you’ll minimize scrap, lengthen tool life, and deliver components that meet the strictest industry standards.
If you lack in-house expertise, partner with a specialist—reach out to Tops Precision or your trusted CNC service provider for fully supported PEEK machining, from material sourcing through final inspection. With expert guidance, you’ll unlock PEEK’s full potential and avoid costly missteps on your next high-performance project.
Suggested Internal Links

