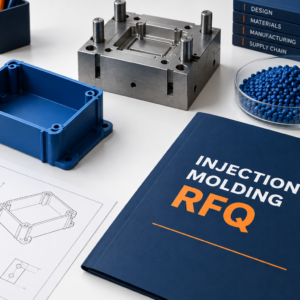



Rivet nut specifications should match the fastener to your sheet thickness, hole geometry, accesso, and assembly loads. A matching thread size is only the starting point. Agree the exact insert, installation route, and retention tests before ordering fabricated panels or enclosures.
Confirm That A Blind Rivet Nut Fits The Assembly
A blind rivet nut provides a female thread installed from one side, but it still needs clearance behind the sheet.
The setting operation deforms part of the fastener body to retain it against the panel. The mating screw is installed separately.
Sherex by PEM’s blind rivet nut overview describes single-sided installation and several body styles. Select the family for your actual assembly conditions.
Do not confuse this insert with a blind rivet used to join sheets. It also differs from a self-clinching nut.
Nostro self-clinching nut guide covers that alternative retention mechanism. Matching thread designations do not make the two interchangeable.
Select The Grip Range From The Actual Panel Stack
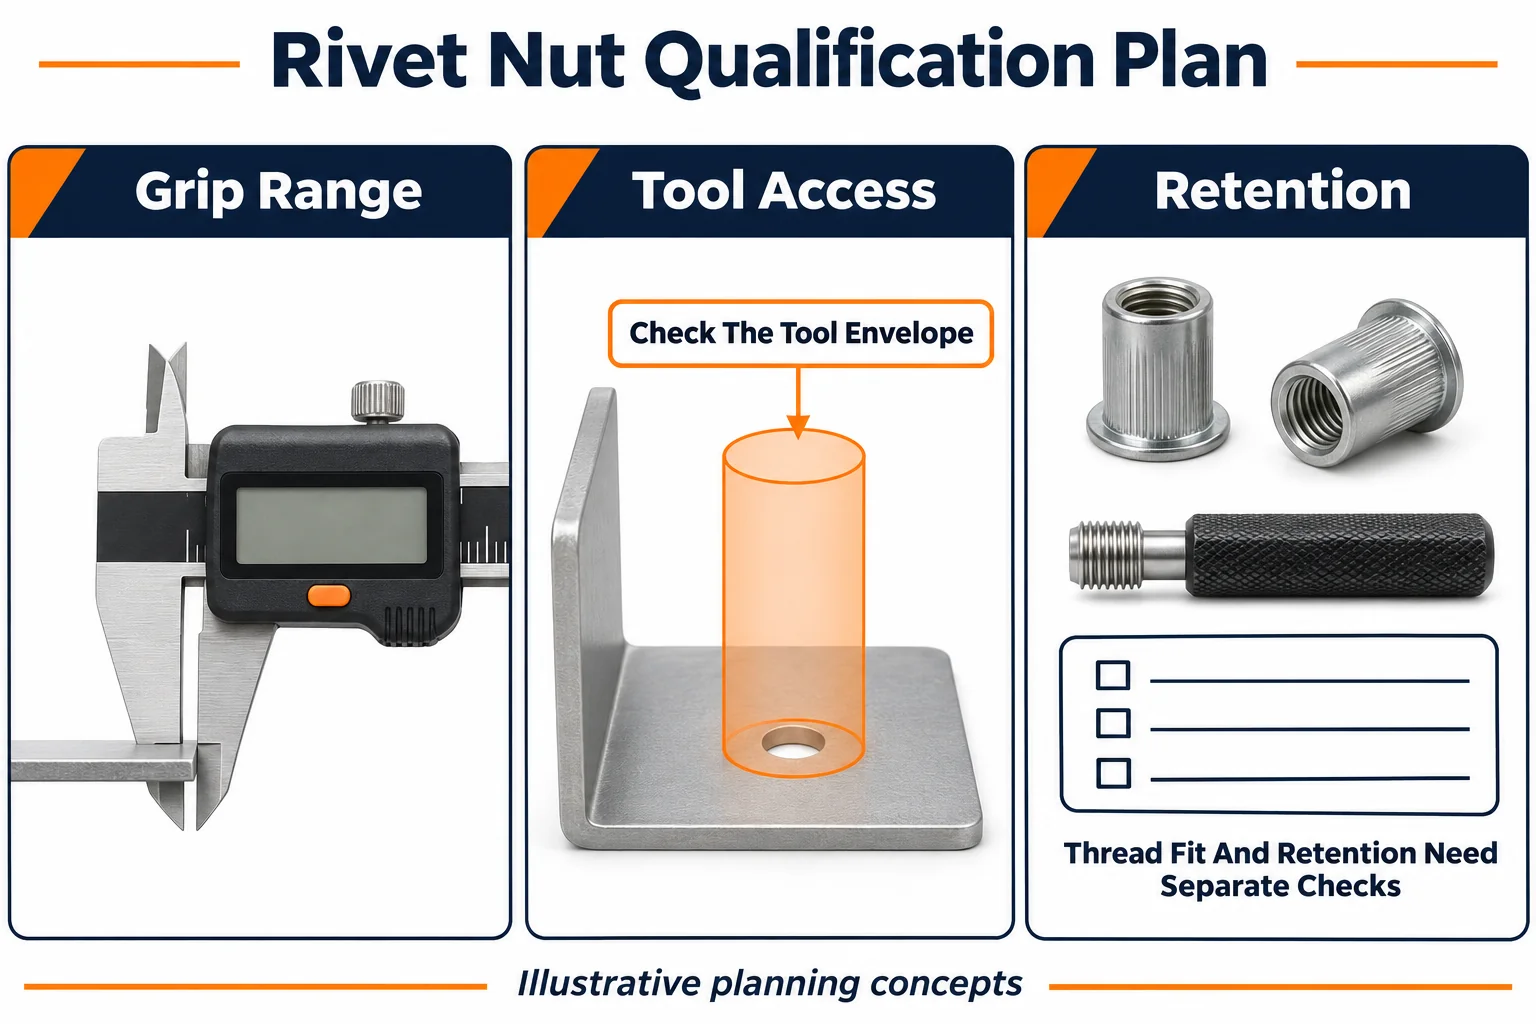
Your selected grip range must cover the material thickness clamped by the rivet nut in its installation condition.
Record the minimum and maximum stack thickness at the hole. Identify coatings, additional sheets, and any permitted gaps.
Do not use the thickness of a later attached cover unless it belongs in the rivet nut installation stack.
Sherex’s Optisert application notes warn that parent material and hole size affect grip range. They recommend trial installation for the application.
Confirm the appropriate part number across the actual thickness variation. A longer insert is not automatically a substitute for a wider approved grip range.
Match The Body Style To A Controlled Hole
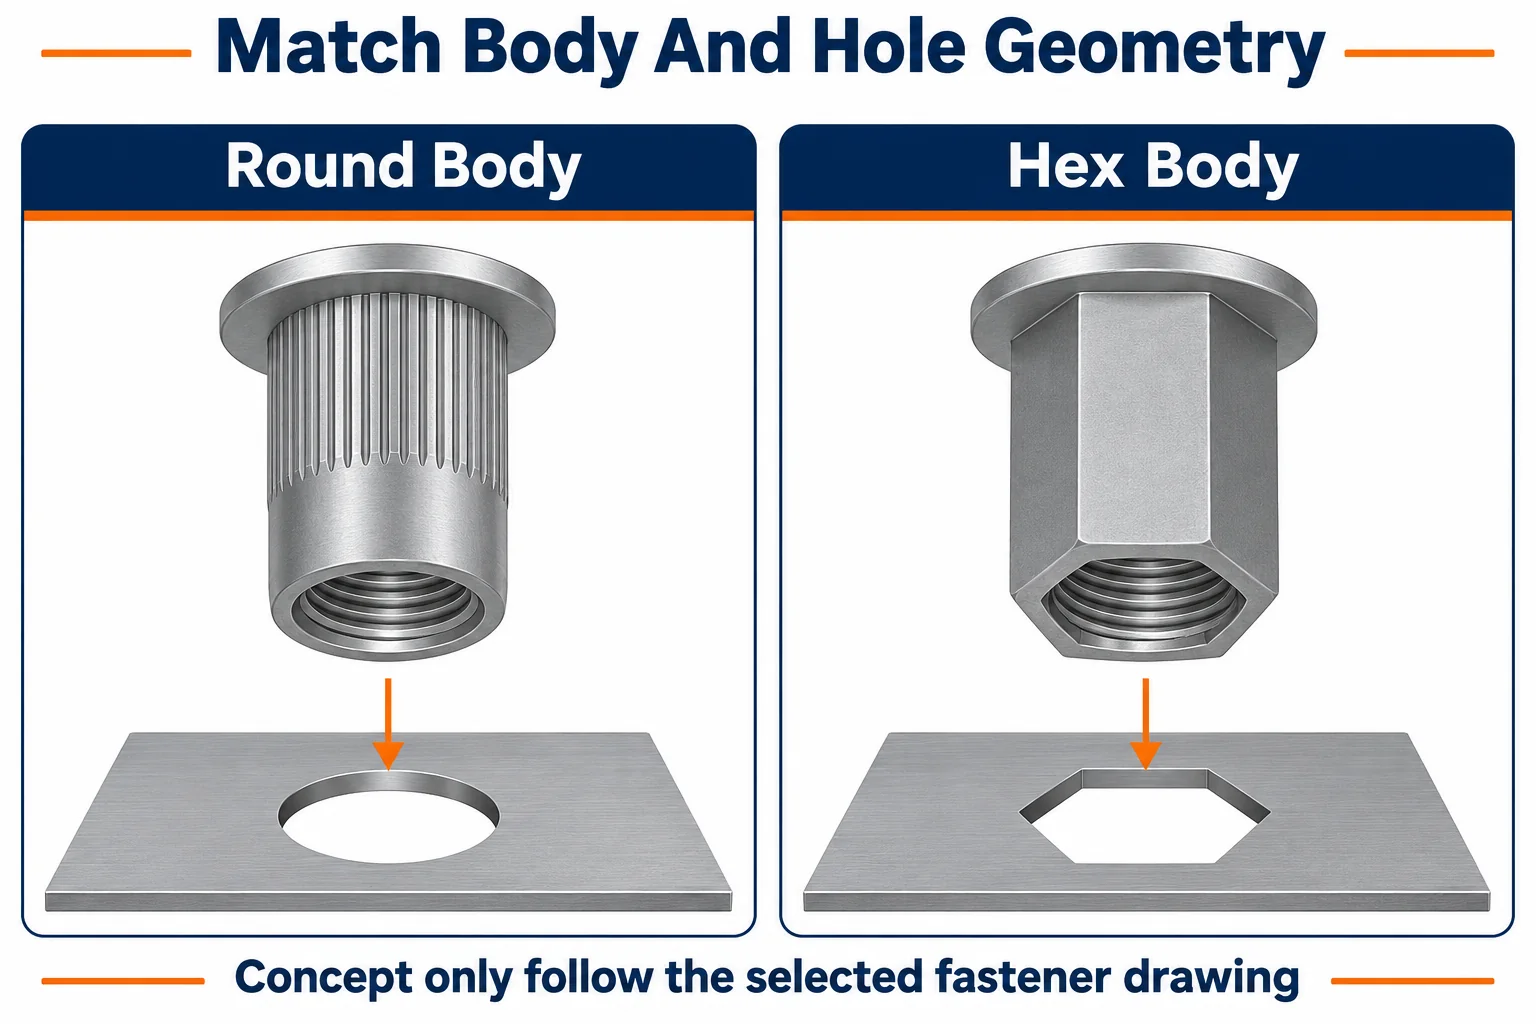
You should specify the hole geometry and tolerance from the selected fastener drawing rather than from its thread size.
A round body and a hexagonal body need corresponding hole shapes. Define the actual hole-making process and inspection condition.
Sherex’s hex body catalog describes increased spin-out resistance for its full-hex families. That product guidance does not establish a universal torque rating.
Review edge condition, distorsione, and coating buildup with the fastener supplier. Do not apply self-clinching hole preparation rules without checking this insert’s requirements.
| Feature To Specify | Procurement Decision |
|---|---|
| Filo | Exact designation, pece, and required thread acceptance |
| Body and hole | Girare, hexagonal, or another approved matching geometry |
| Grip range | Fastener part number suited to the actual clamped stack |
| Head style | Flange clearance, stand-off, or approved countersink geometry |
| End condition | Open or closed end with the required screw clearance |
| Material and finish | Compatibility with the panel and service environment |
Reserve Tool Access And Blind Side Space
Your design must accommodate the setting tool, fastener flange, and body both before and after installation.
Check the tool nose against bends, nearby hardware, and enclosure walls. Review the assembly model rather than only the flat pattern.
The flange must seat without interference. Check whether it changes the gap or contact condition of the later attached component.
IL RivetKing design considerations distinguish tool clearance, head clearance, and blind-side clearance. Its catalog explains that the body needs room to form behind the sheet.
One-sided access does not mean zero rear space. Check insertion length and the formed body envelope before closing the enclosure.
Agree Material Finish And Installation Sequence
You should approve the insert material, rivestimento, and installation sequence as part of the complete sheet metal assembly.
Consider the panel, fastener, mating screw, and service environment together. Stainless steel is not an automatic answer for every material combination.
State whether installation occurs before or after painting, verniciatura a polvere, or plating. Confirm how the chosen route affects fit and thread cleanliness.
Specify permitted masking and the condition of the flange seating area. Do not change the fastener finish without reviewing the approved application.
If sealing matters, define the complete leak path and test requirement. A closed end alone does not establish a sealed panel interface.
Qualify The Setting Operation And Assembly Loads
Your installation trial should use the selected fastener, actual panel material, representative holes, and the proposed setting equipment.
Follow the fastener and tool manufacturer’s installation instructions. Record the setting controls and approved sample condition.
Keep installation settings separate from the mating screw tightening specification. A thread torque value does not define the correct setting operation.
Agree how the joint handles the required loads and repeated screw use. Select retention tests that address the actual failure modes.
| Acceptance Question | Prove per essere d'accordo |
|---|---|
| Does the insert remain seated | Flange seating and installed condition checks |
| Does the insert resist rotation | Defined spin-out test method and limit |
| Does the panel retain the insert under axial load | Specified load direction, dispositivo, and acceptance limit |
| Is the thread usable | Agreed thread gauge or functional assembly check |
| Does the final assembly meet service requirements | Required loading, cycling, sigillatura, or environmental evaluations |
A thread gauge checks a different requirement from retention testing. Define inspection coverage and the response to a failed installation.
Compare Quotes On The Complete Installed Scope
Your quotation should identify the fastener part number, panel preparation, installazione, qualificazione, and delivery inspection.
TOPS provides servizi di lavorazione della lamiera. Send the panel and mating component details together so the proposed assembly scope can be reviewed.
Confirm who supplies the inserts and who approves substitutions. Identify ownership of installation tooling, trial samples, e registri di ispezione.
Costs depend on hole preparation, accesso, fastener availability, quantità, finish sequence, and test scope. Avoid comparing loose hardware supply with qualified installed assemblies.
Domande frequenti
You should settle grip, buco, accesso, and retention questions before releasing a rivet nut assembly order.
Is Thread Size Enough To Select A Rivet Nut
NO. Body geometry, grip range, Testa, materiale, fine, and installation conditions also need agreement.
Does Single Sided Installation Eliminate Rear Clearance
NO. The fastener must enter the hole and form behind the sheet without interference.
Can A Hex Body Insert Go Into A Round Hole
Use the hole shape specified for the selected fastener. Do not substitute geometry without application approval.
Is Spin Out Resistance The Screw Tightening Torque
NO. It evaluates insert rotation resistance. Specify the permitted screw assembly conditions separately.
Does A Closed End Guarantee A Leak Tight Assembly
NO. Leakage can involve the insert-to-panel interface. Agree the complete sealing arrangement and acceptance test.
What Should A Rivet Nut RFQ Include
Send CAD, disegni, sheet material, gamma di spessori, hole details, fine, quantità, fastener preference, access constraints, and required loads.
Request A Sheet Metal Fastener Review
Contattaci with your panel drawing, mating component, gamma di spessori, quantità, and service requirements. Include your proposed insert and acceptance tests. Agree the fastener and installation route before production approval.